Tomato seed saving is enjoyable, rewarding, an easier than you might think! Embarking on the journey of tomato seed saving is not merely an act of preserving a tiny part of your garden but an investment in the continuity of nature's bounty. For the home gardener, understanding the intricacies of this process is not only a means of self-sufficiency but also a fascinating exploration into the life cycle of one of the most beloved garden staples.
The focal point of your tomato seed saving endeavors lies in the meticulous removal of a tomato jelly sac which envelops each tomato seed—a step crucial for eliminating germination inhibitors. This comprehensive guide teaches you how to save tomato seeds step-by-step. This process guarantees a future harvest of robust, disease-resistant plants and encapsulates the essence of sustainable gardening—a cyclical relationship between the gardener and the very seeds they nurture.
🍅Tomato Seed Saving: Step-By-Step Instructions 🍅
Step 1: Harvest and Select the Best Tomatoes
In the initial phase, meticulous selection becomes the cornerstone. Harvesting tomatoes from a single variety at a time ensures the genetic purity of the seeds. Opting for fully ripe and disease-free specimens sets the stage for a robust seed stock.
Step 2: Removing the Tomato Seeds
The heart of the process lies in extracting seeds while being mindful of the jelly sac encasing them. A careful, surgical approach is employed, safeguarding the integrity of each seed for the subsequent fermentation stage.
Step 3: Covering the Jar
The transferred tomato seeds should be temporarily stored in a jar, covered with a cloth to safeguard against external contaminants. This stage sets the seeds on a path of natural fermentation, a critical phase for breaking down the inhibiting jelly sac.
Step 4: Fermentation Process
Placing the jar at room temperature initiates the fermentation process. Influenced by ambient temperature, the timeframe becomes a pivotal factor, ranging from a swift 12-hour cycle to a more extended three-day period.
Step 5: Daily Seed Inspection
You should inspect your seeds daily during the fermentation process. Stirring the seeds and observing their behavior serves as a litmus test for successfully removing the jelly sac, ensuring the seeds' readiness for the subsequent stages.
Step 6: Cleaning Seeds by Decanting
The transition from fermentation to cleaning marks a crucial juncture. Adding water to the jar separates the viable seeds from the unwanted pulp through the decanting process, a meticulous series of actions repeated until only clean, viable seeds remain.
Step 7: Drying the Seeds
The final step involves carefully drying the cleaned seeds. Transferring them to a screen colander and providing adequate ventilation ensures a thorough drying process, which prepares the seeds for storage and future planting.

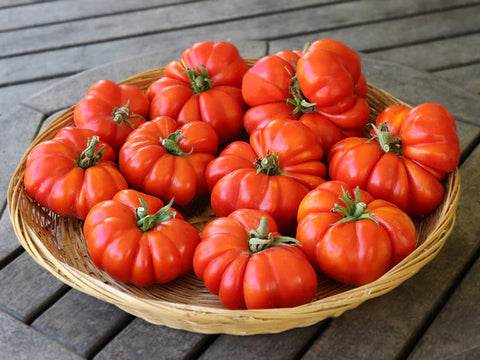
Pictured: Pisanello Tomato (click for seeds)
Seed saving transforms the act of gardening into a cyclical symphony, where each season's harvest contributes to the next generation, perpetuating the legacy of vibrant, healthy tomato plants.

